XML File to OPC-UA Bridge
This tutorial uses an XML Source as virtual device. Further an OPC-UA server is used to access the device information.
Preconditions
-
HumanOS IoT Designer installed on development client (Check Installation Manual)
-
OPC-UA Client installed on development client
Examples work with UAExpert from Unified Automation. Download UAExpert here
Step 1: Create an XML Source
First, an XML source file must be created.
File: C:\Temp\TestFile.xml
<?xml version="1.0" encoding="utf-8"?>
<Data>
  <Value1>88</Value1>
</Data>
Step 2: Create an IoT Project
-
Open the HumanOS IoT Designer v2 from Windows Start Menu.
-
Create a new project and preselect "OPC UA Bridge"
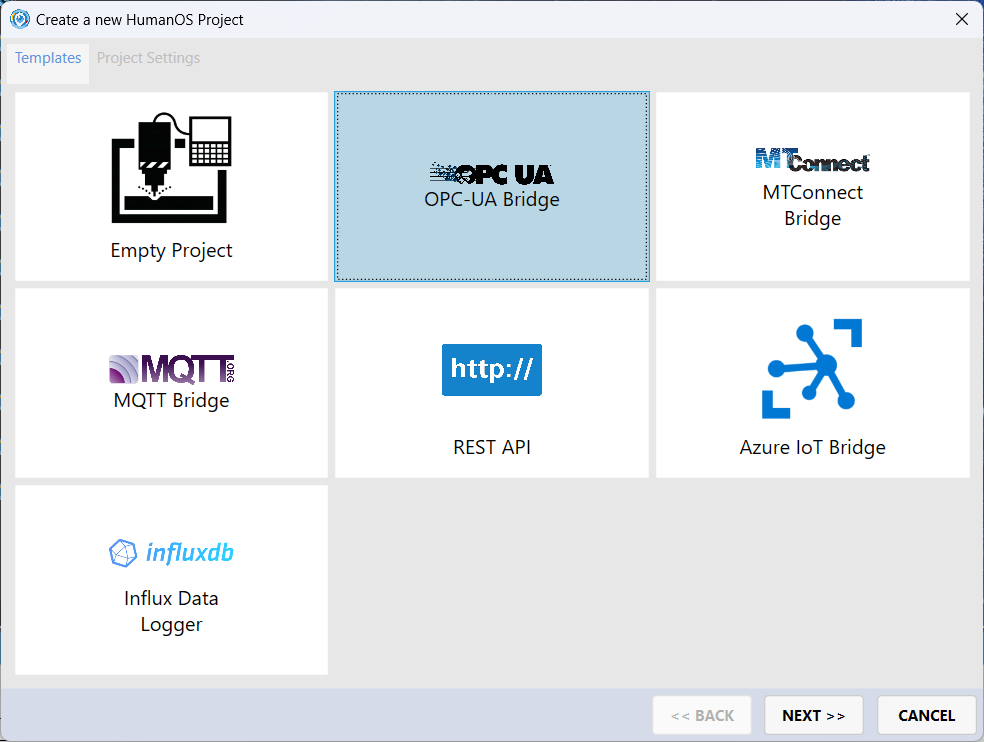
-
Choose Product License
Trial Licenseand select the latest trial runtime installed on your development client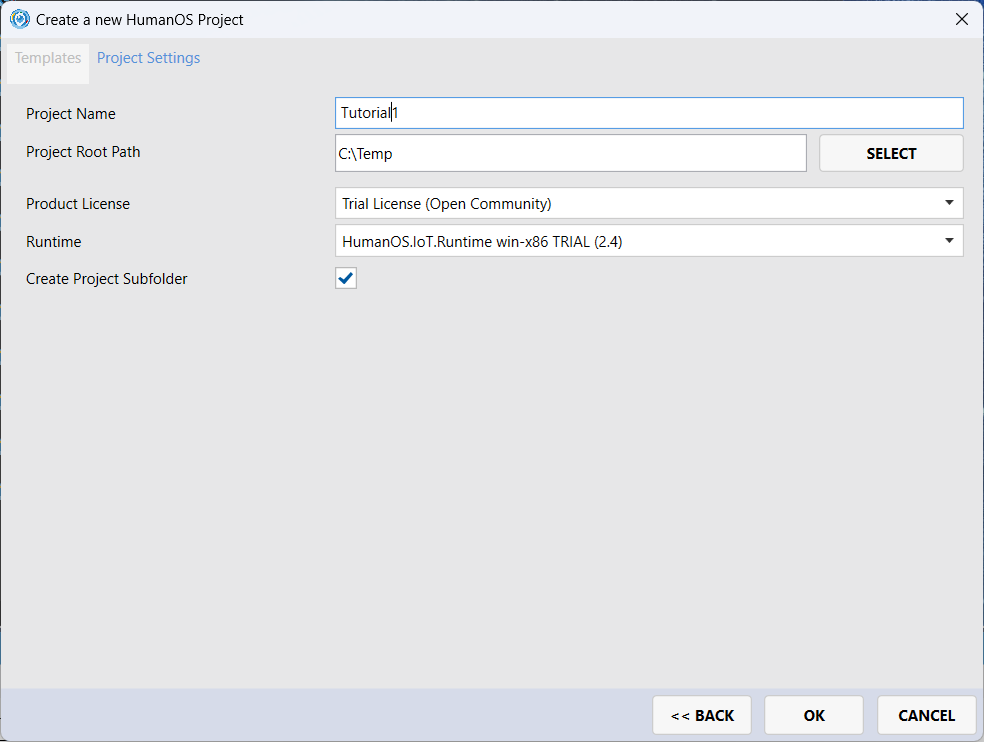
-
Click on "Device Templates" and add a new content.
-
Select the device template
XML and JSON File Connectorand set name toXMLSource.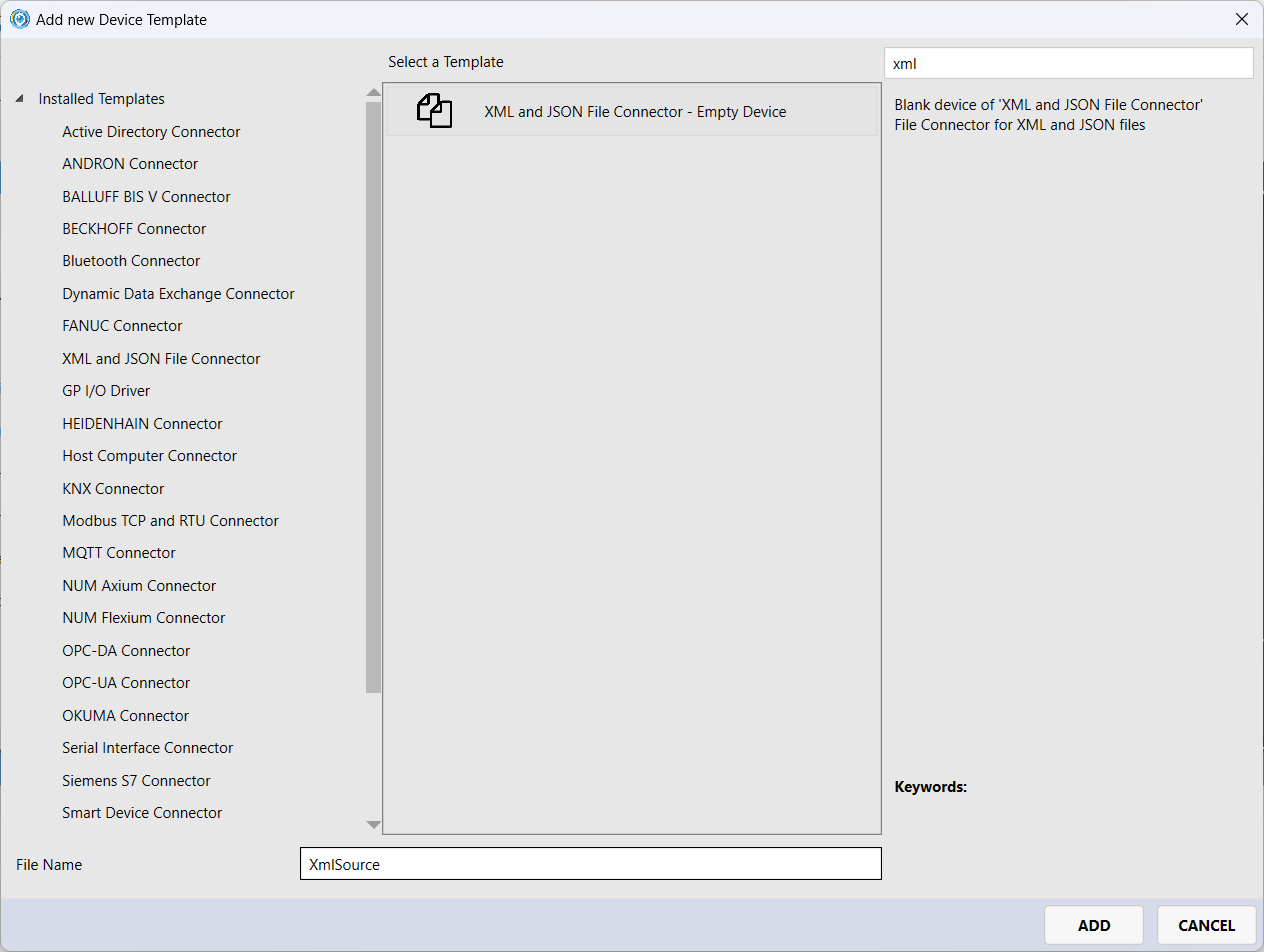
-
Open the XMLSource document and select the first node
XMLSourceon the document page. -
Add a new Device Node (Right click or
[+]button in the document page)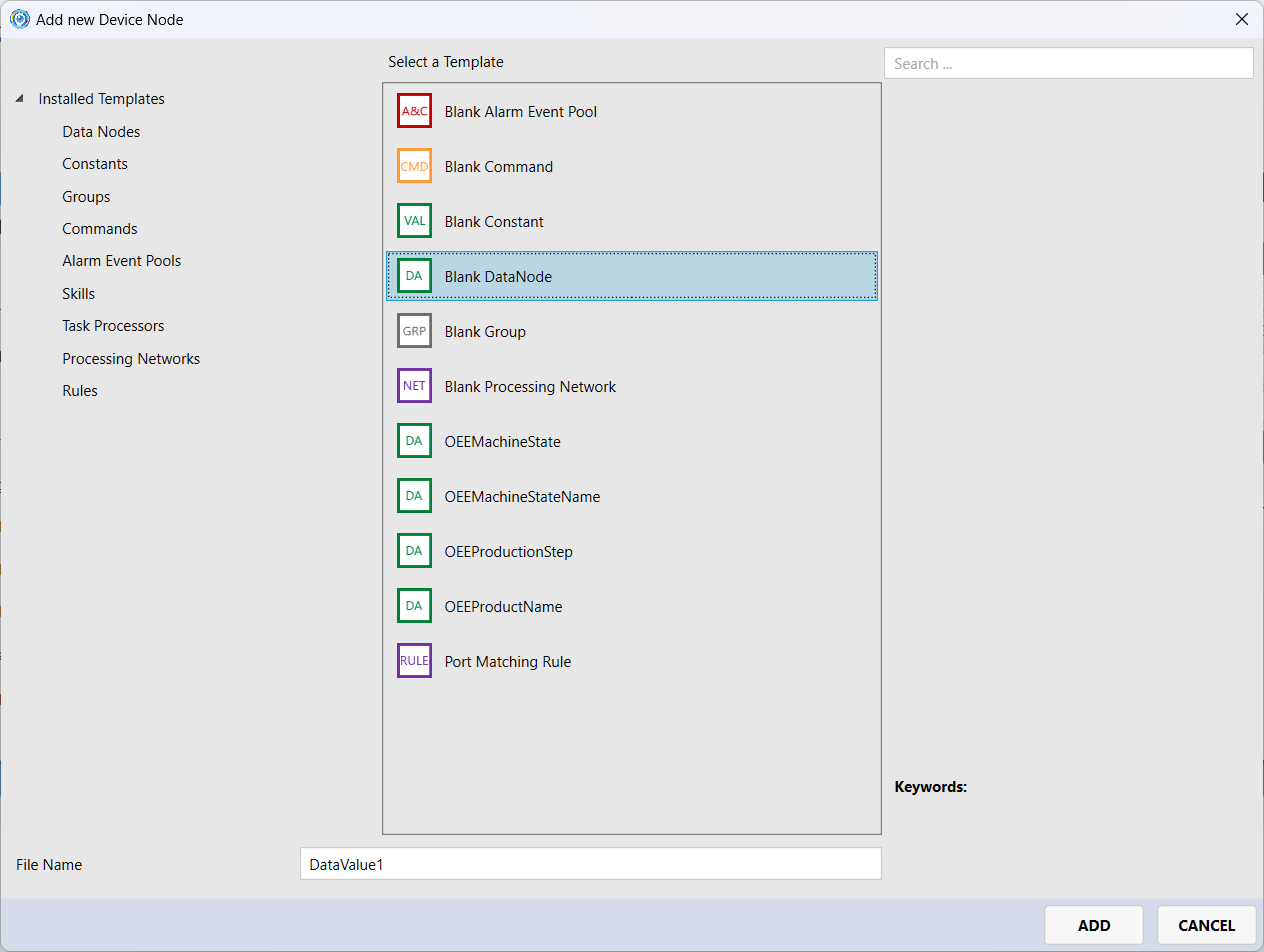
-
Select
Blank DataNodeand set name toDataValue1. -
Select the added node and set the
Addresson property list (right side) to/Data/Value1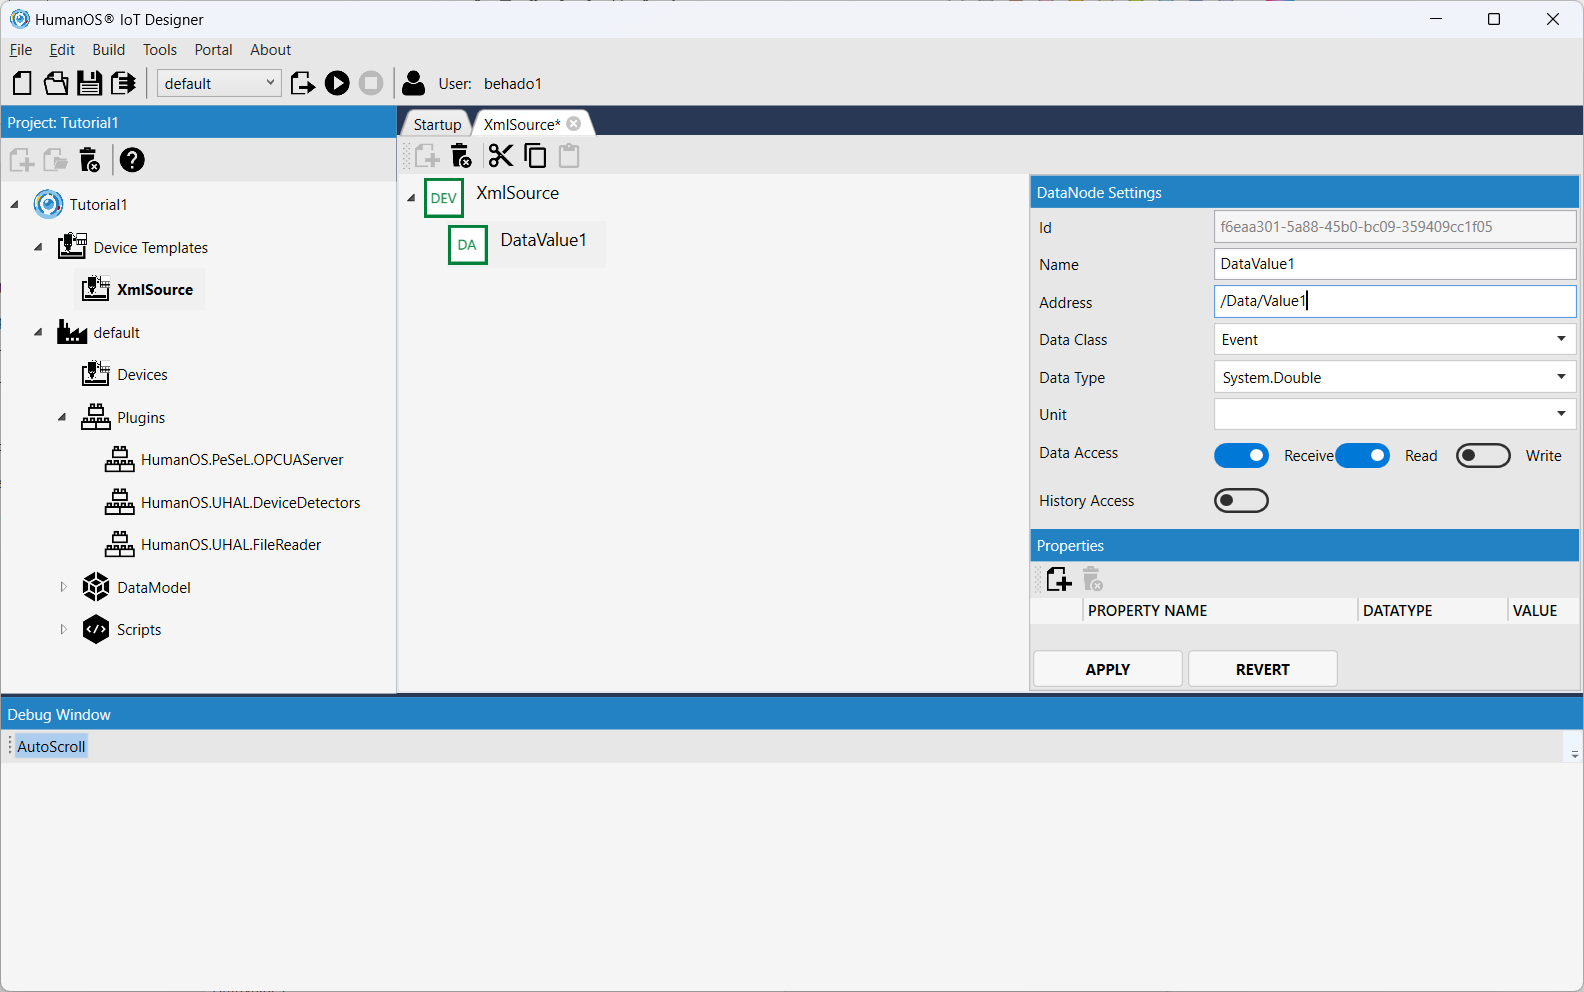
Now your device template is ready. This template can be used multiple times to connect to different XML sources with the same structure.
Step 3: Connect the Device
Now we create a connection to the XML file from Step 1.
-
Select the "Devices"-node below the "default"-target and add a new device.
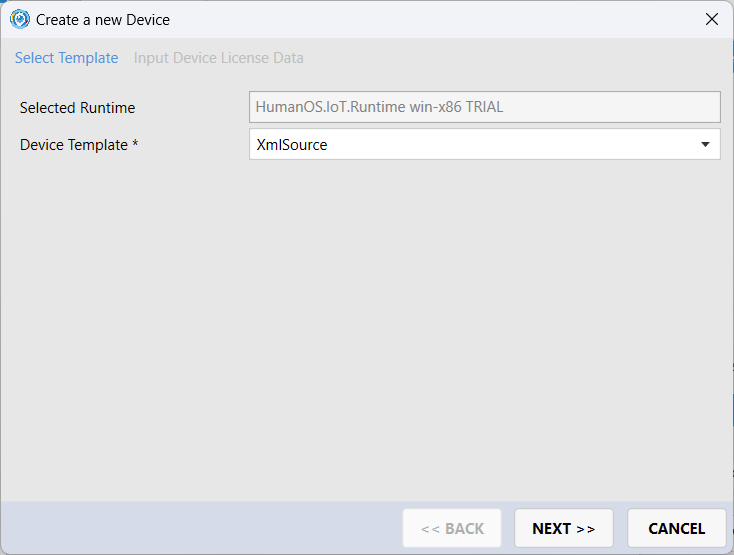
If you have more than one device template, you can select now the template for your device.
-
Specify the device. Set the "Address" to
C:\Temp\TestFile.xml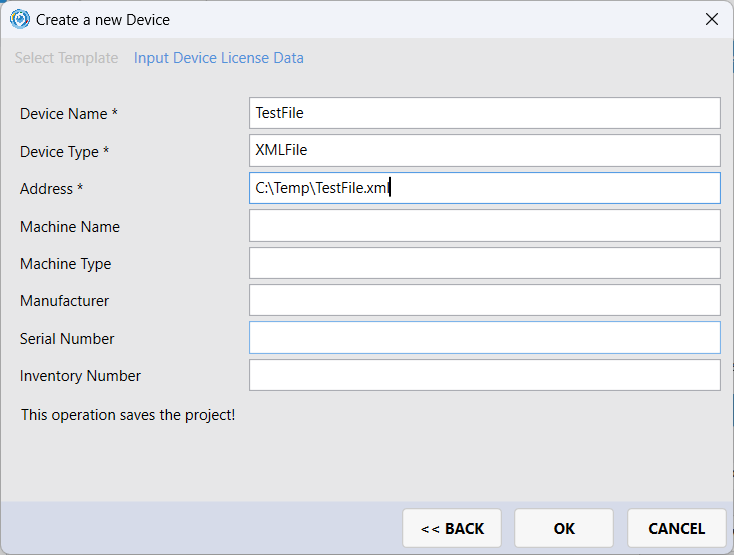
Now your IoT project is now read for a first test run.
Step 4: Test your IoT Project
-
Click on "Build and Run" to build and deploy the "default"-target.
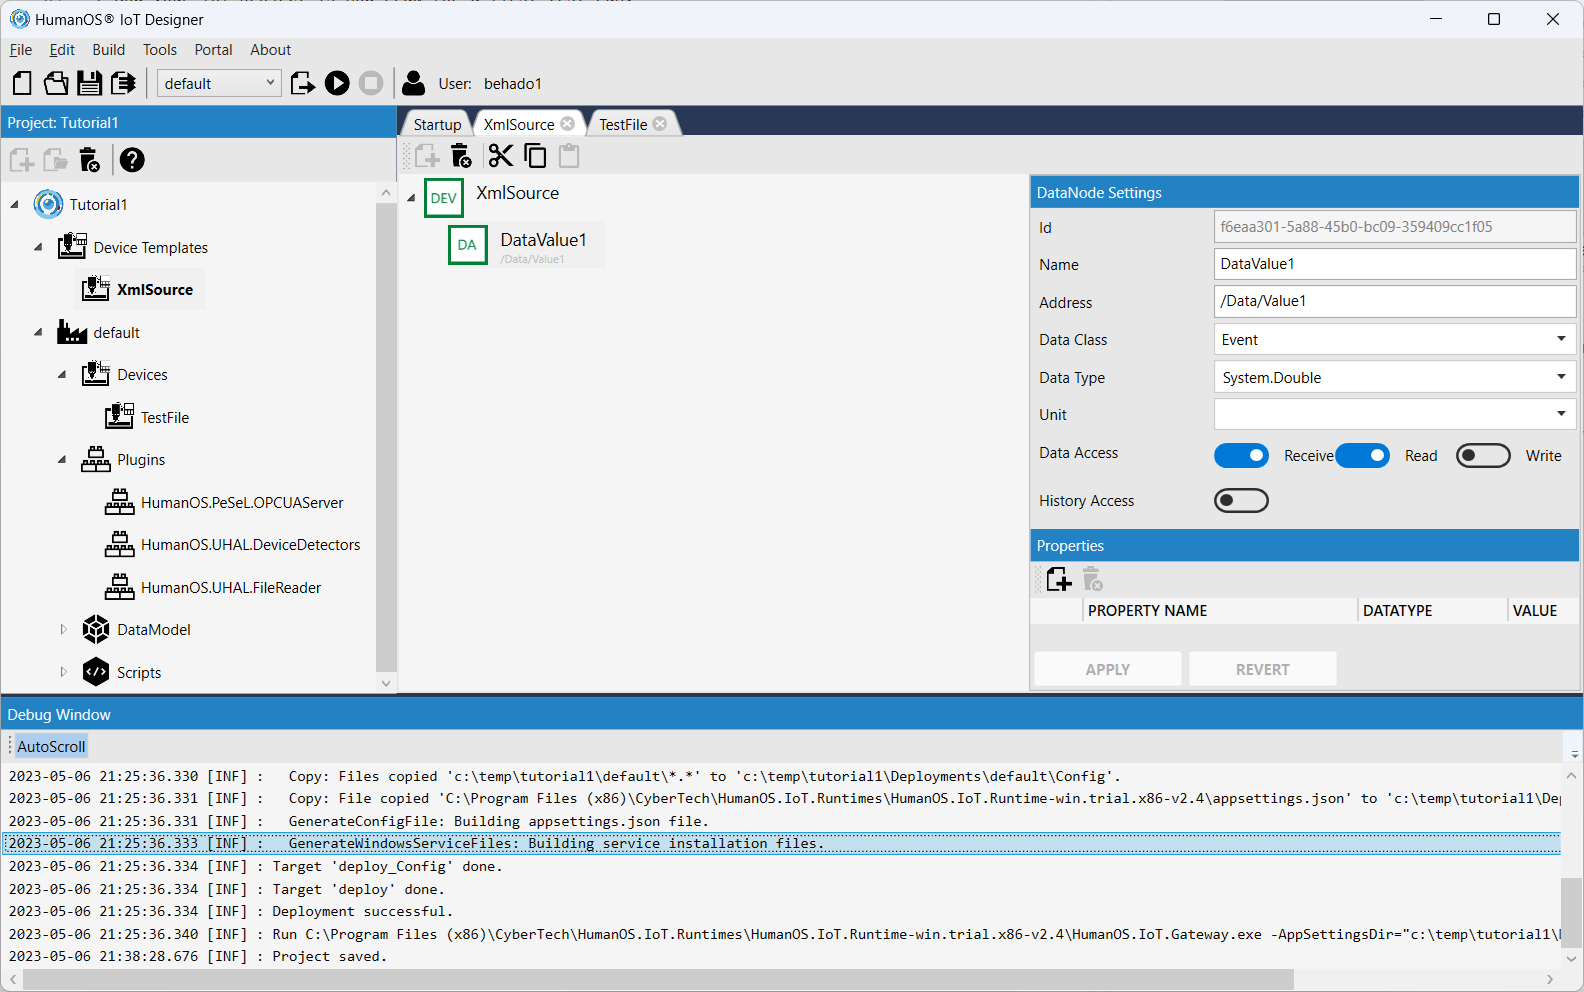
-
The HumanOS IoT Gateway is started in console mode
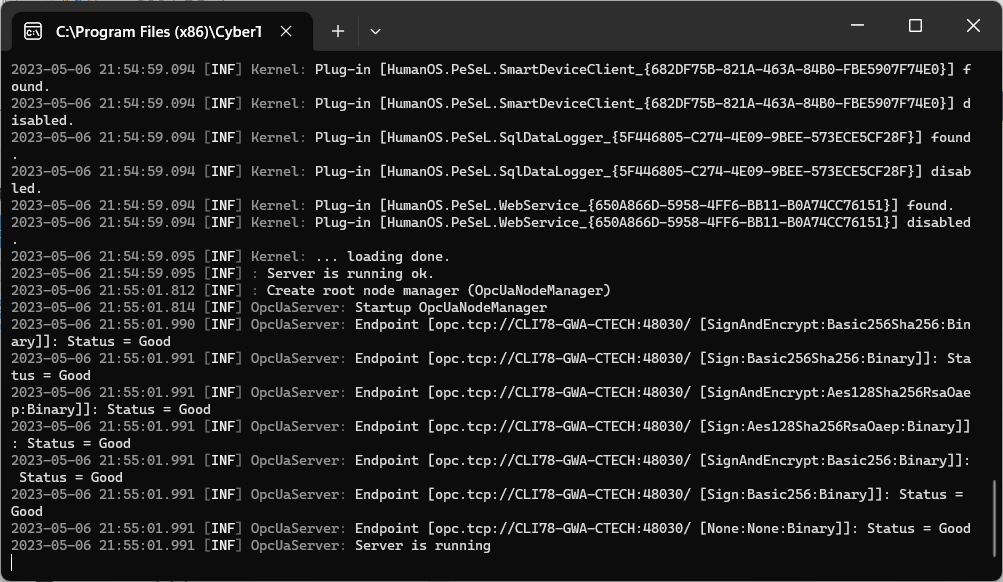
-
Start "UAExpert" from Windows Start Menu
-
Add a new connection. Use the connection address
opc.tcp://localhost:4840.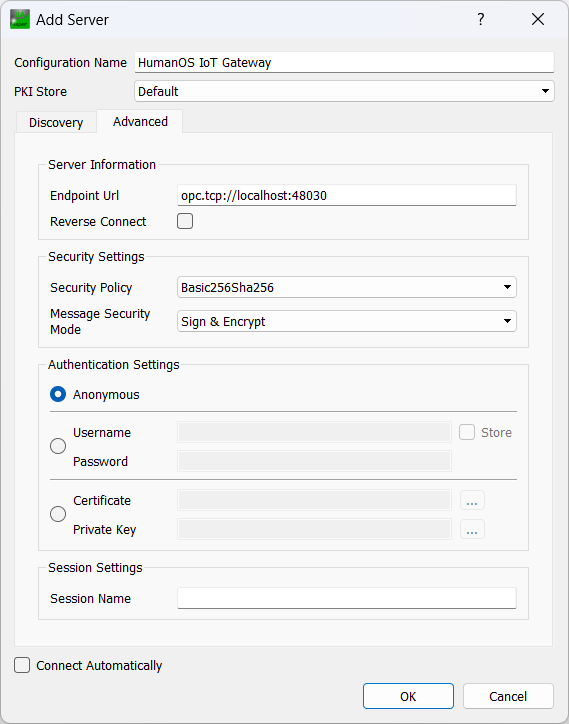
-
Connect to the HumanOS IoT Gateway. Because the server uses a self signed certificate, confirm that it is trustworthy.
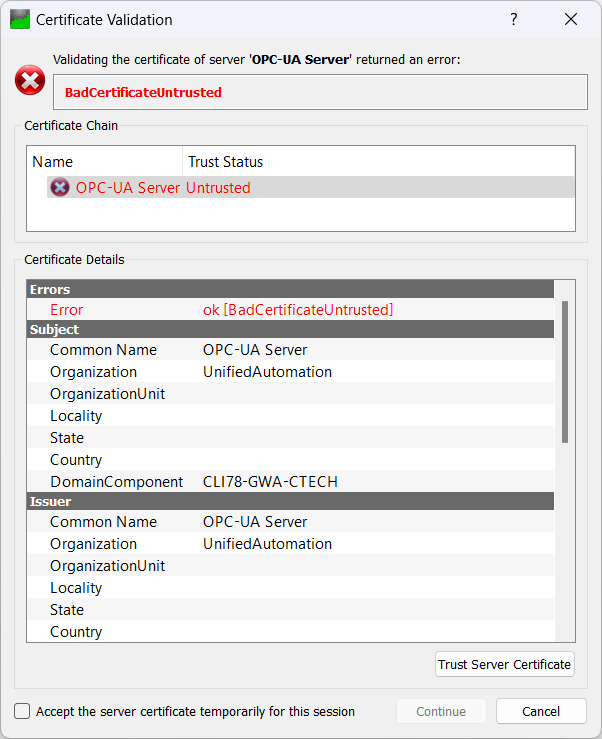
-
Drag and Drop the "DataValue1" node into the "Data Access View". The value shows
88. -
Open your XML file and change the value to
-99. The value in UAExpert changes to-99.
Extensions
-
Try to add other data node with data type
System.Stringon address/Data/Value2.Hints
- You must stop the gateway first
- Edit the template
- Reassign the changes to the device
- Restart the gateway
-
Change the value of
/Data/Value1to an invalid data, e.g.88x.
- What does OPC-UA show?
- What error is printed out in HumanOS Console?
- Add the
Write-Flag inData Accessof the "DataNode1". Check if you can change the value on the UAExpert. (Hint: On UAExpert, double click on the data node in "Data Access View").
Further Information
- Manual for FileReader Connector
- Manual for OPC-UA Server
- Manual for HumanOS IoT Designer
Source Files
- Source files from Tutorial 1