Installation of Windows Services
This tutorial shows how Windows Services are installed on a target host with Windows 10 or higher, or Windows Server 19 or higher.
Preconditions
- A valid HumanOS License (PoC or Productive License)
- Example 1 is running successfully
- A Windows based host system. Administration rights are required.
- OPC-UA Client installed on development client
Examples work with UAExpert from Unified Automation. Download UAExpert here
Create your First Windows Service
Step 1: Switch to Licensed Gateways
First, your trial project from Tutorial 1 must be converted to a licensed project.
-
Open the tutorial project in designer and double click on the root node
Tutorial1in your project.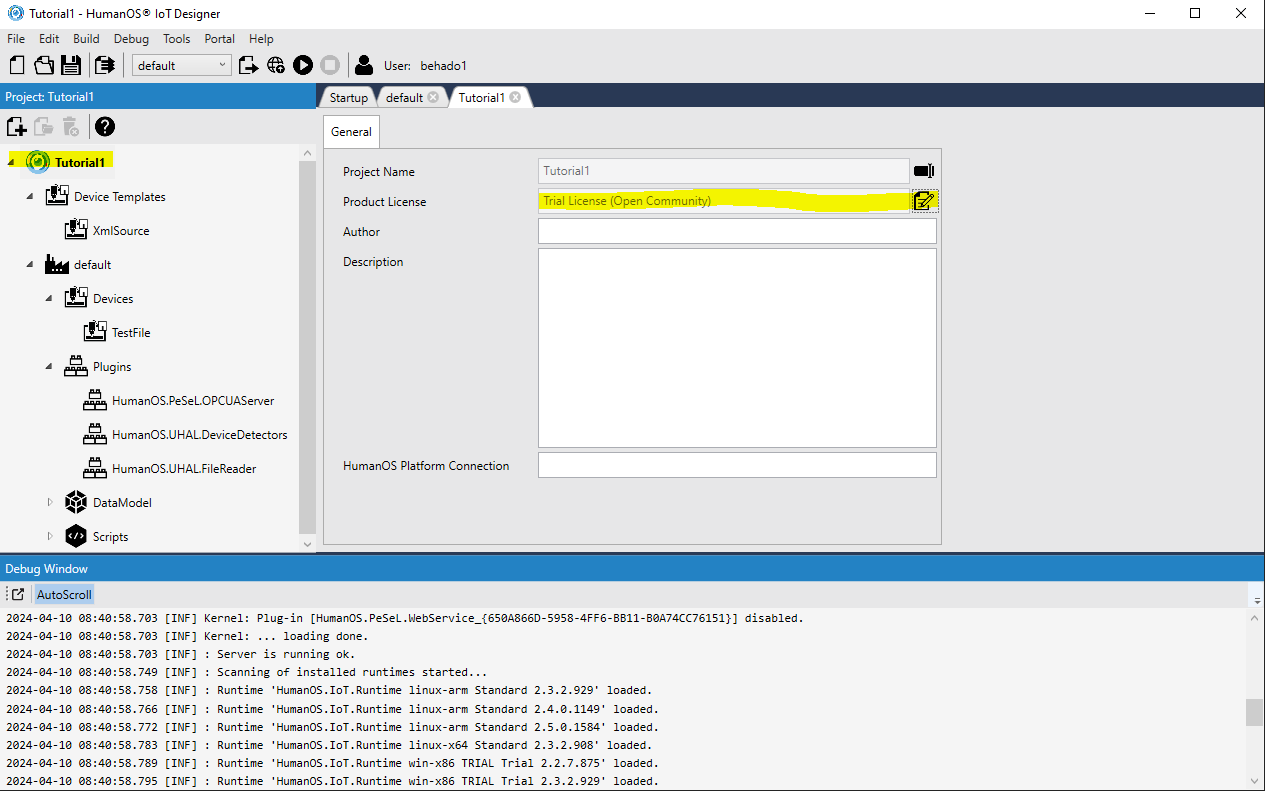
-
Select your license and the productive runtime (both must be previously installed on your client)
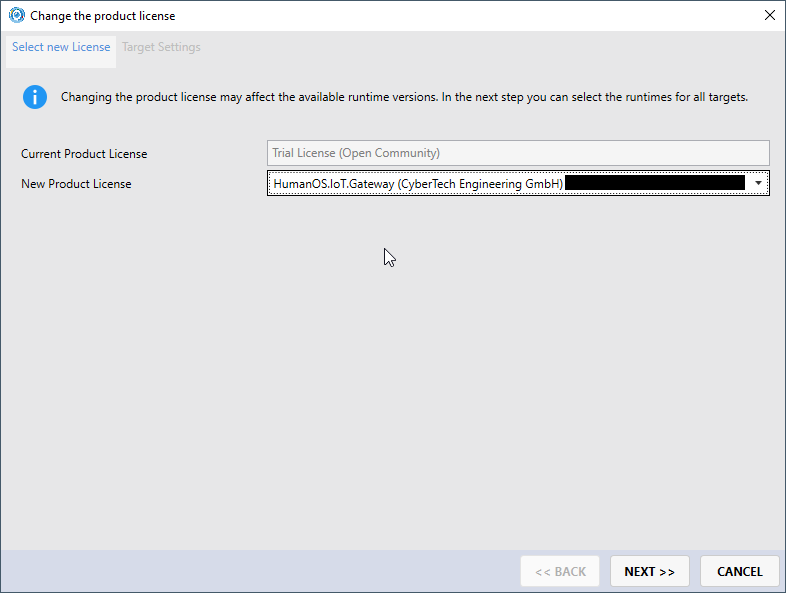
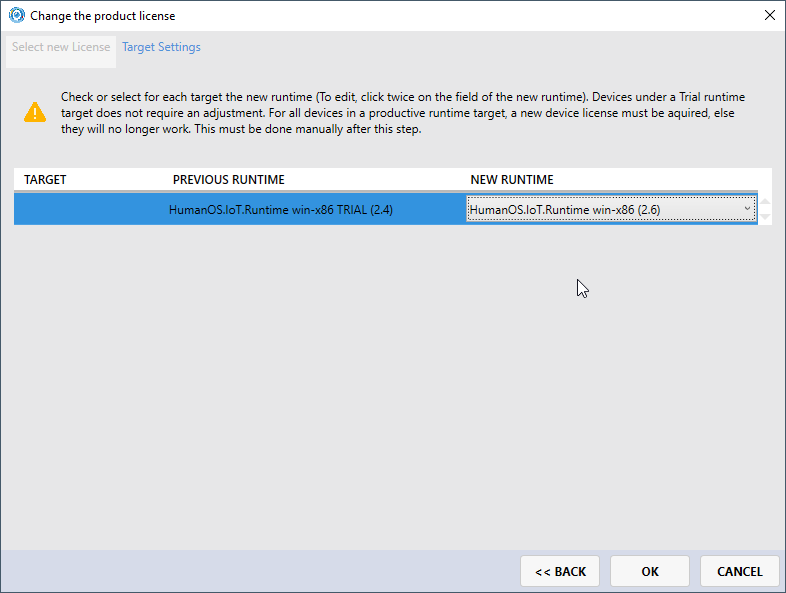
-
Remove the device
TestFilein the default target and recreate the device.NOTEThis is only necessary, if your default target must be productive. It is also possible to keep the default target as trial using the Trial Runtime.
Step 2: Prepare Windows Service Settings
-
Double click on your target
defaultin your project. -
Navigate to tab
Windows Serviceand check the name of the serviceIMPORTANTIoT projects created by older Designer often have a fixed windows service name, like
HumanOS.IoT.Gateway. When creating multiple targets (gateway instances) for same host computer this might lead to the problem of overwriting existing windows services.Therefore, use the variable
$(Target.Name)as part of windows service name.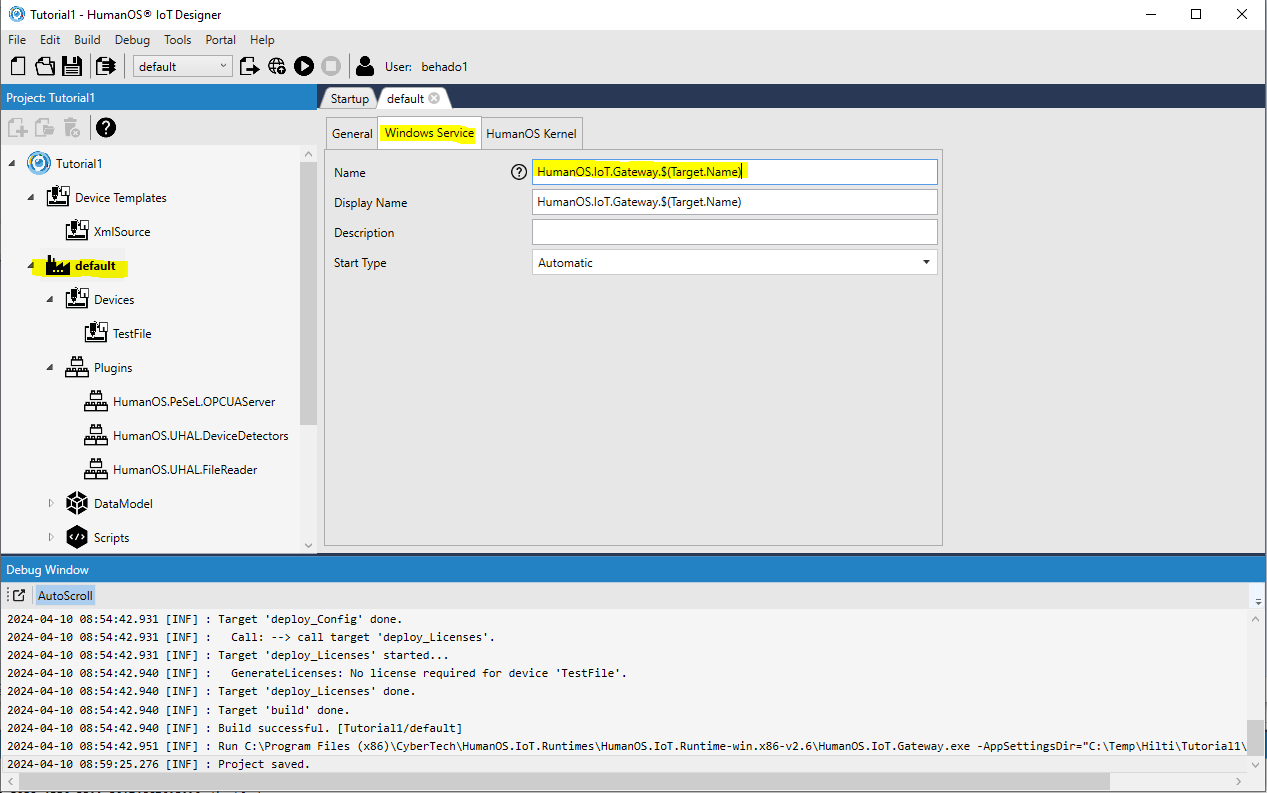
Step 3: Publish the Gateway to the Host
Now, we are ready for a first publishing to your host system.
Note, that we directly publish to the client computer. It is also possible to publish to a file share or a remote host.
-
Double click on your target
defaultin your project. -
Navigate to tab
Generaland check the name of the service -
Select the publish destination as
DirectorySet the publish directory path to
C:\ProgramData\CyberTech\HumanOS.IoT.Gateways\$(Target.Name)\Updates\.NOTENote, that we use also the variable
$(Target.Name)here to prevent overwriting published artifacts by other targets (gateway configurations).NOTENote, that we publish into an
Updatesfolder, which can be used later on for automatic gateway updating.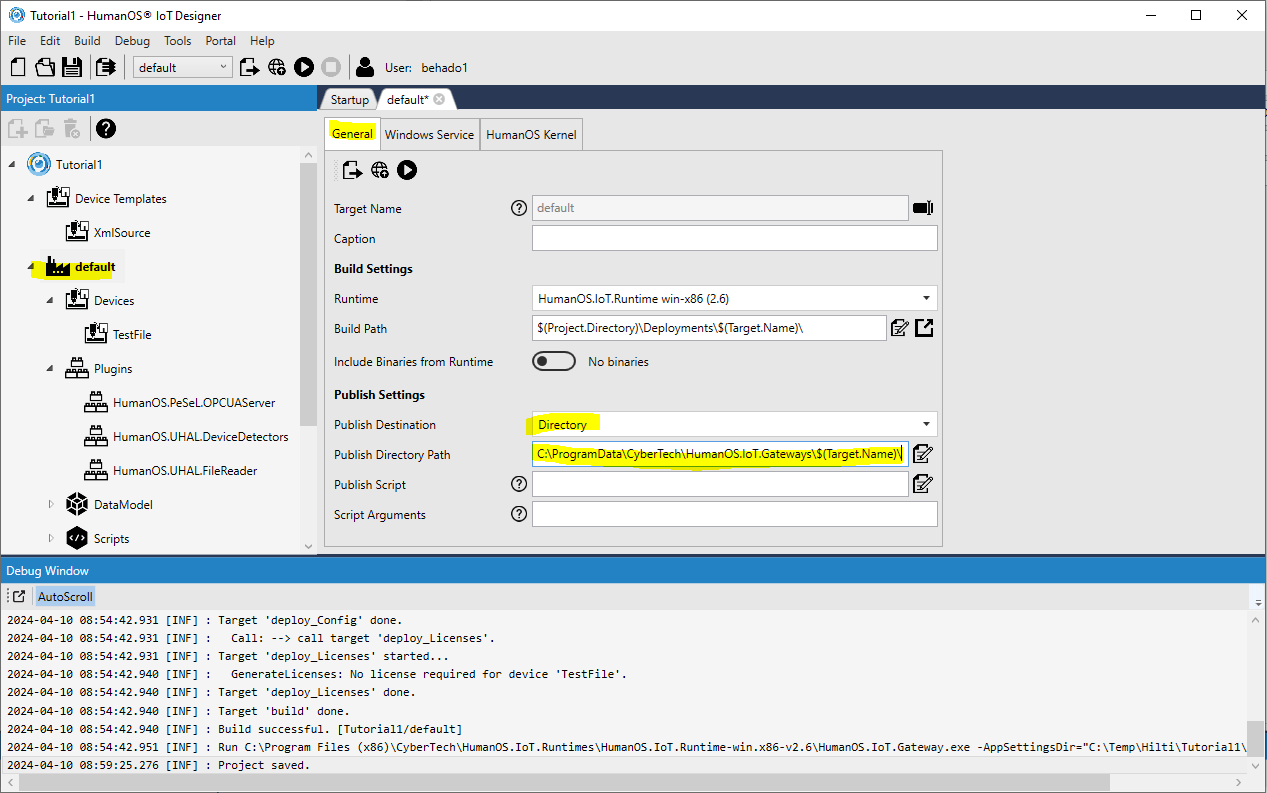
-
Navigate to the published folder on your host.
-
Open the zip file in
C:\ProgramData\CyberTech\HumanOS.IoT.Gateways\default\Updates\and extract the files toC:\ProgramData\CyberTech\HumanOS.IoT.Gateways\default\ -
Delete the zip file in
C:\ProgramData\CyberTech\HumanOS.IoT.Gateways\default\Updates\
Now, you should have a file structure like follows:

Step 4: Register Windows Service
-
Right click on powershell file
RegisterService.ps1and execute it with powershell (as administrator) -
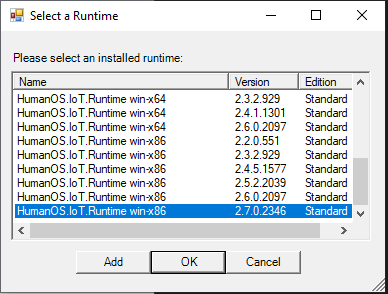
Select the correct runtime on your host system
-
Check and confirm the settings showed in the powershell:
Scan HumanOS runtimes...

Service Name       = 'HumanOS.IoT.Gateway.default'
Selected Runtime   = 'HumanOS.IoT.Runtime win-x86'
Service executable = 'C:\Program Files (x86)\CyberTech\HumanOS.IoT.Runtimes\HumanOS.IoT.Runtime-win.x86-v2.7\HumanOS.IoT.Gateway.exe'
AppSettingsDir     = 'C:\ProgramData\CyberTech\HumanOS.IoT.Gateways\default'

Press Enter to register service... -
The service is not automatically started. Go to the windows services and start the service.
Create an other Windows Service
Now we want to create an other gateway as windows service which runs on the same host.
Following stumbling blocks must be considered before:
-
Services like OPC-UA Server or WebServices are bound to a TCP-IP port. Only one gateway can use a given port. Make sure, the other gateway uses a different port for that service.
-
The service name must be different from each other, otherwise they are overwritten in the registration process.
Step 1: Create a new Target
-
Select the root node of your project and click
Add new Content to Project. -
Set the name
Gateway1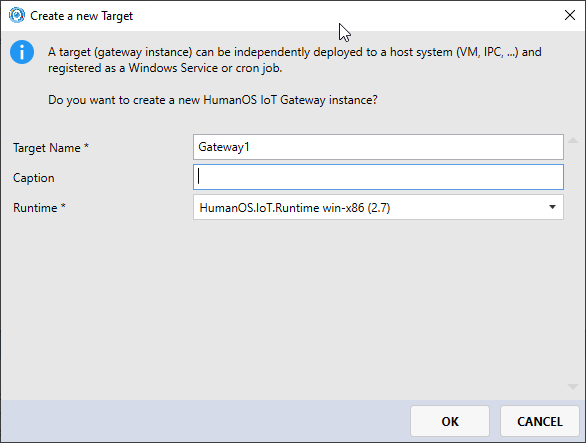
-
Click top the
Pluginsnode on the new target and clickAdd new Content to Projectagain. -
Add the
OPC-UA Serverwith default settings to the new gatewayNOTENormally, the new gateway inherits all plugin configuration from the
defaultconfiguration. Adding the OPC-UA plugin configuration again allows us to change the settings for this specific gateway, like port number.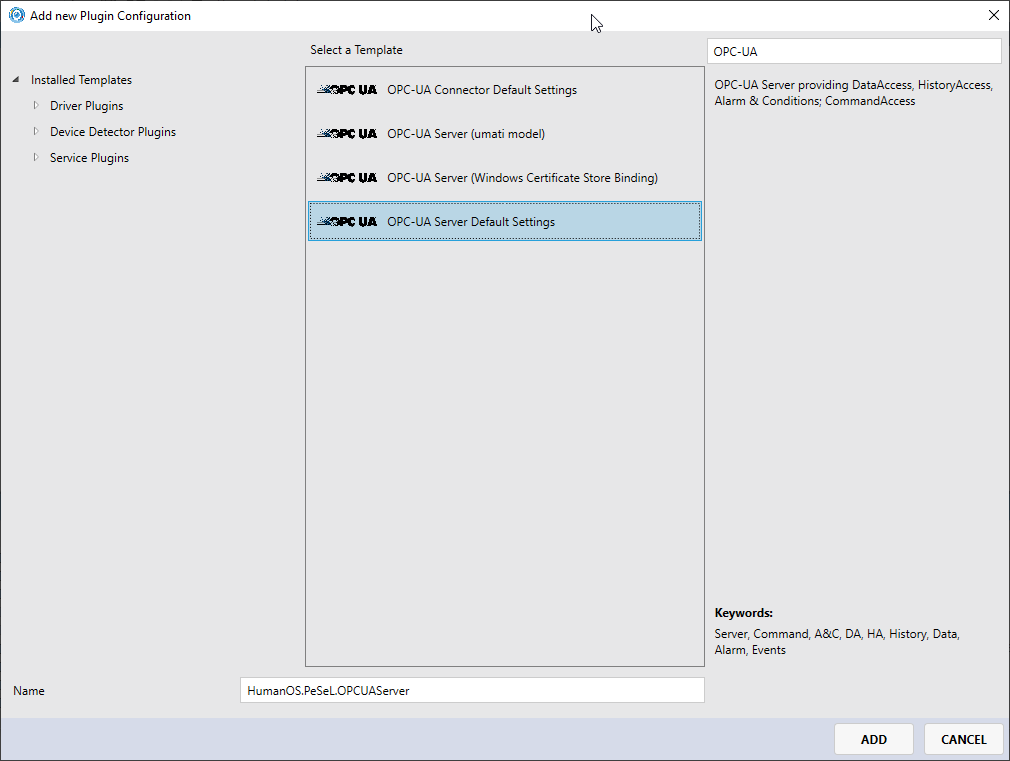
-
Double click on
HumanOS.PeSeL.OPCUAServerplugin and change the port setting to4841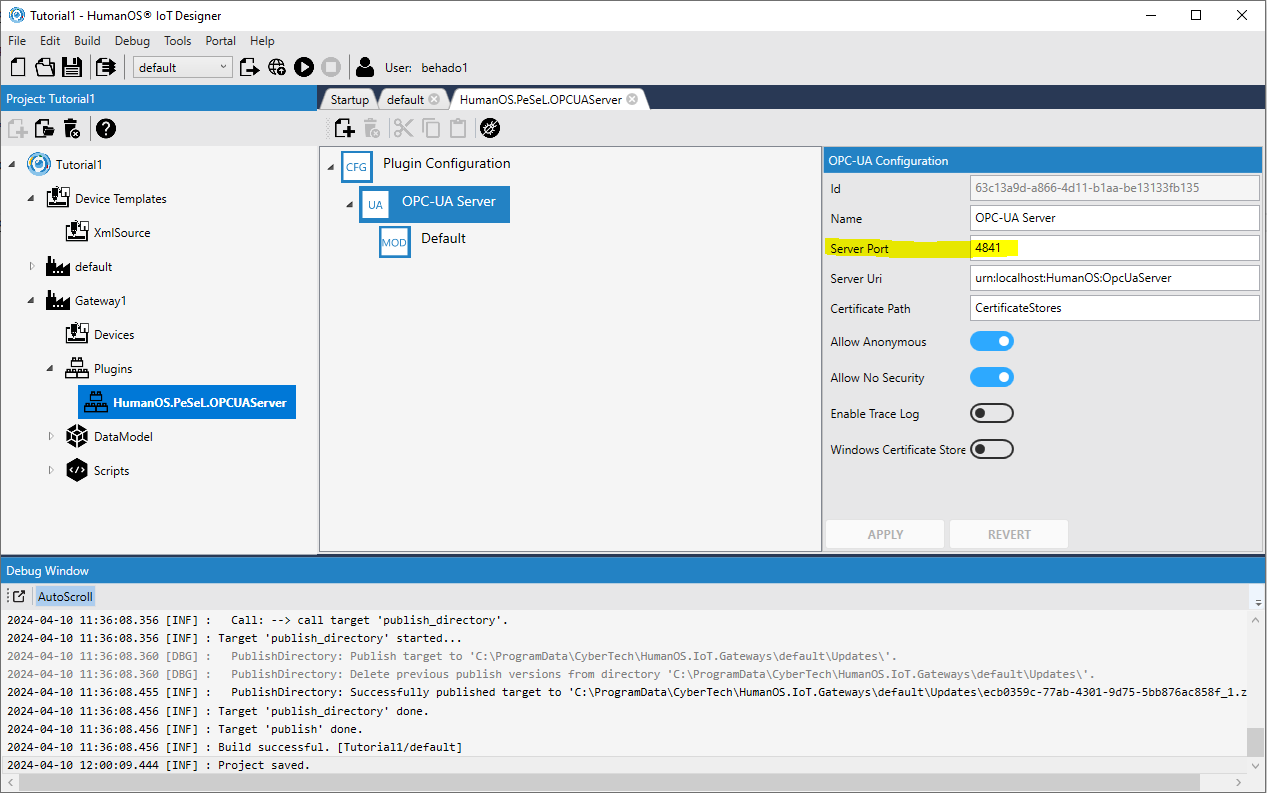
-
Open the target configuration and set the publish path, windows service name etc. accordingly
-
Publish the gateway
-
Extract the zip file accordingly to the first gateway
-
Register the new service

Step 2: Start Services and Test
At the end you should have two windows services each one having his own OPC-UA server connecting to a XML file. Really?
-
Start the windows services

-
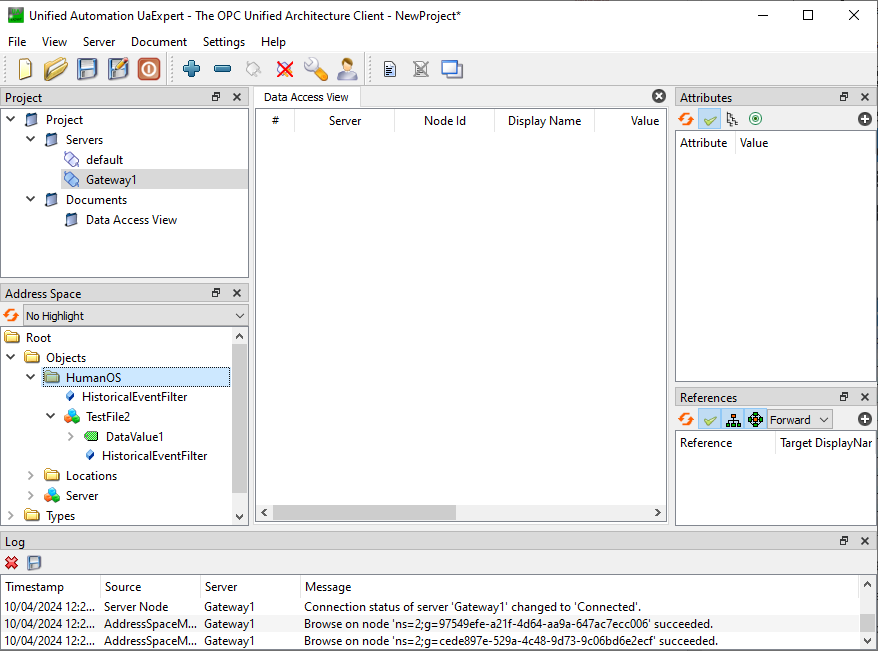
Open UA Expert and connect to both OPC-UA servers
We notice,
defaulthas a deviceTestFile, butGateway1has no device at all.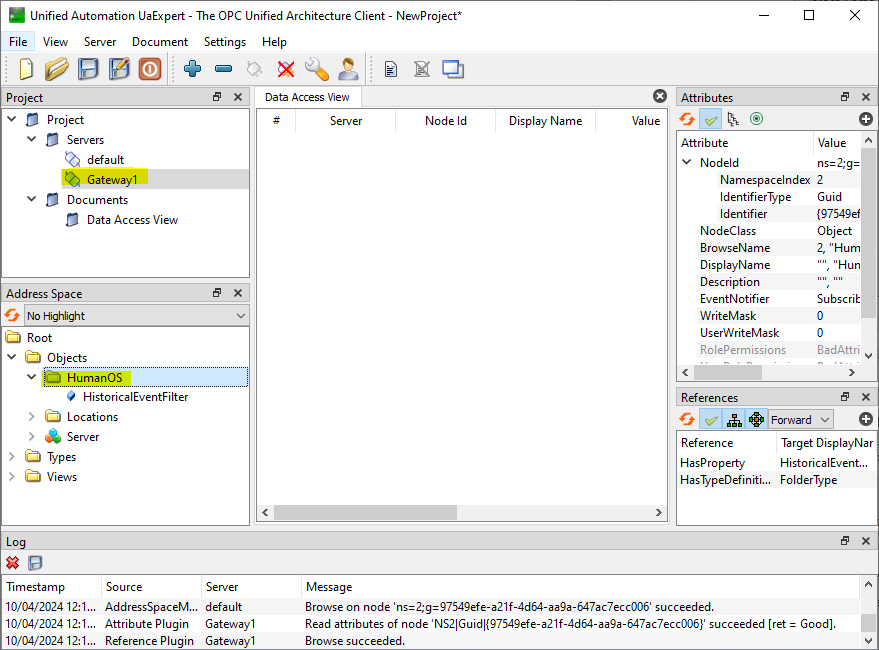
Step 3: Update the Gateway Config
-
Go back to the HumanOS IoT Designer and add a device to the
Gateway1target. -
Go to the target settings page and publish the
Gateway1again.NOTEA new zip file is copied to the
Updatesfolder on your target host. We don't have to extract the config manually now! -
Go to the Windows Services and just restart the service
HumanOS.IoT.Gateway.Gateway1.- The update process automatically create a backup of your current configuration in the
Backupsfolder. - The zip file is automatically extracted and then removed from the
Updatesfolder.
- The update process automatically create a backup of your current configuration in the
-
Go to UAExpert and click
Rebrowseon the "HumanOS" folder.The device appears.
